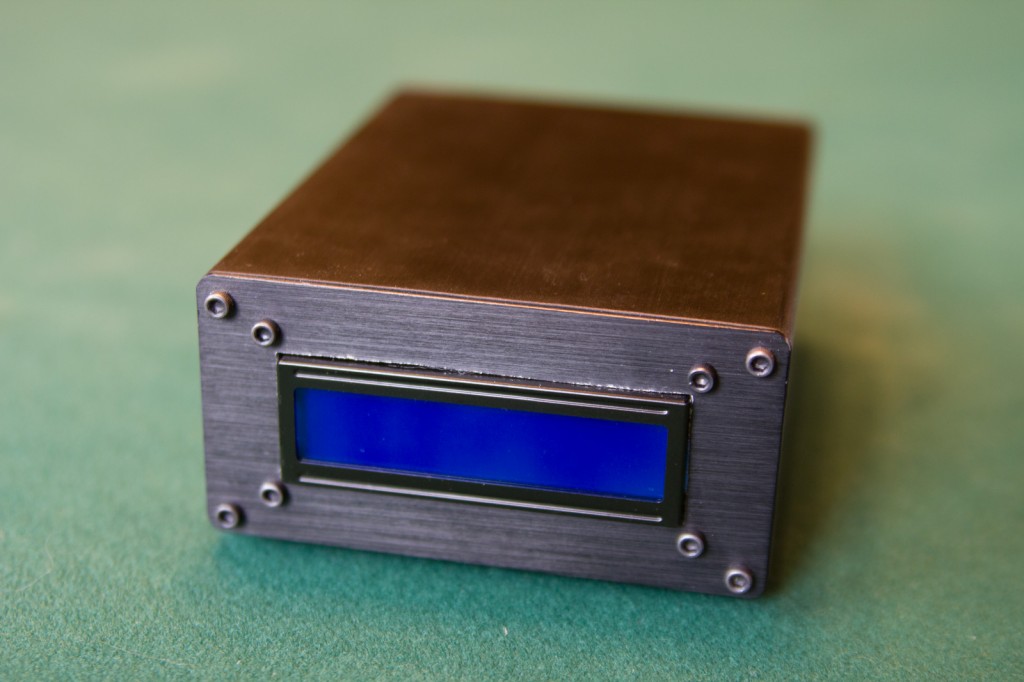
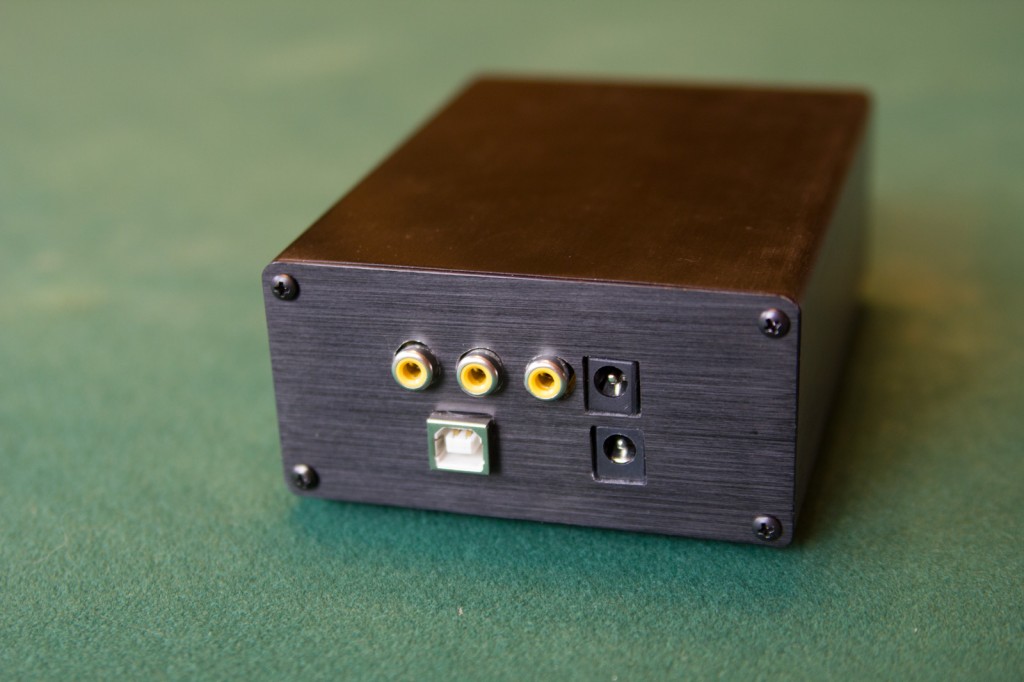
I ordered up a 2″x4″x 5″ extruded aluminum chassis off of eBay, and mounted the DG5 and the LCD display.
It’s looks good, and the metal shielding eliminated some slight RFI from the board. There are multiple, HF signals on the board being amplified and switched – a metal chassis is recommended!
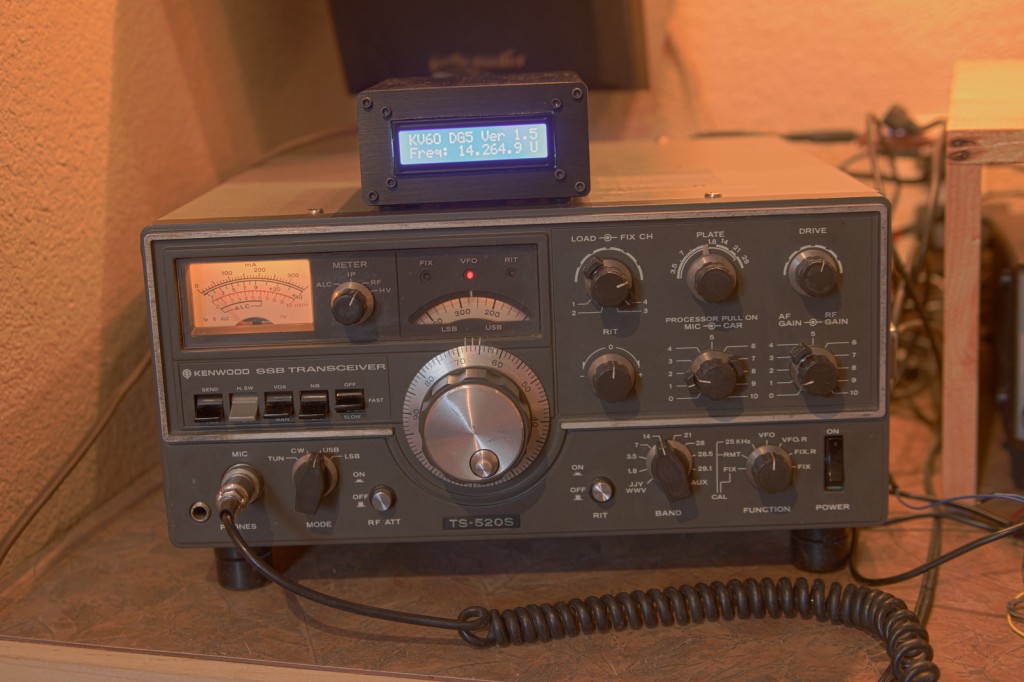
Looks good on top of the TS-520S!


Hi Steve,
I saw you tube videos of the Arduino display you finished for the Kenwood TS520S
I am new to ham radio and electronics, but I have an old Yaesu FT 747GX that I prefer to use over my newer FT 897D. The 100khz digit is not working on the 747gx display. Do you have a plan or kit to replace with an external display. I would be happy to pay for any help you can give me.
Larry H. Pridgen (Vk7LAZ)
6 Palm Court
St. Helens, Tasmania 7216, Australia
Larry –
Unfortunately, I know nothing about the 747gx display, or the radio itself. Fixing the existing display is probably the best course of action. If the rest of the digits work, it’s probably the display or associated electronics that are at fault – much easier to fix than design a whole new counter circuit for. Are there any local ham clubs? You might want to see if someone more knowledgeable can help. Good Luck!
Steve
Steve,
This looks real nice.
Great job.
Slim
Looked on Ebay for the 2″x4″x 5″ extruded aluminum chassis and couldn’t find one like yours.
Do you have another source or a place to start looking ?
Really liked the professional job you did and the “burnished” surface on the metal.
Richard
Richard –
I found the eBay order – it was from a seller called “gkphotonics”. The description was “Aluminum Project box, Enclosure 2″X4″X5″ Model # GK4-5” When I searched for it, I found that they are still selling the same one I ordered – http://www.ebay.com/itm/Aluminum-Project-box-Enclosure-2-X4-X5-Model-GK4-5-/231449948323?pt=LH_DefaultDomain_0&hash=item35e37df0a3
It took some work – I used a nibbler to open the front plate for the LCD, and I had to make mounting holes with standoffs to secure the Arduino board inside. Let us know how it works out for you!
Steve